Living in a crowded city makes people feel depressed, going camping on the weekend is a great way to get close to the nature and released depression. It’s often seen that people gets LED strip as camping light, it’s bright and flexible to light up the area you want. On the other hand, you can change batteries easily when it’s exhausted. how to DIY your own camping light with LED strip, follow the steps below.
1. Choose the Right Strip
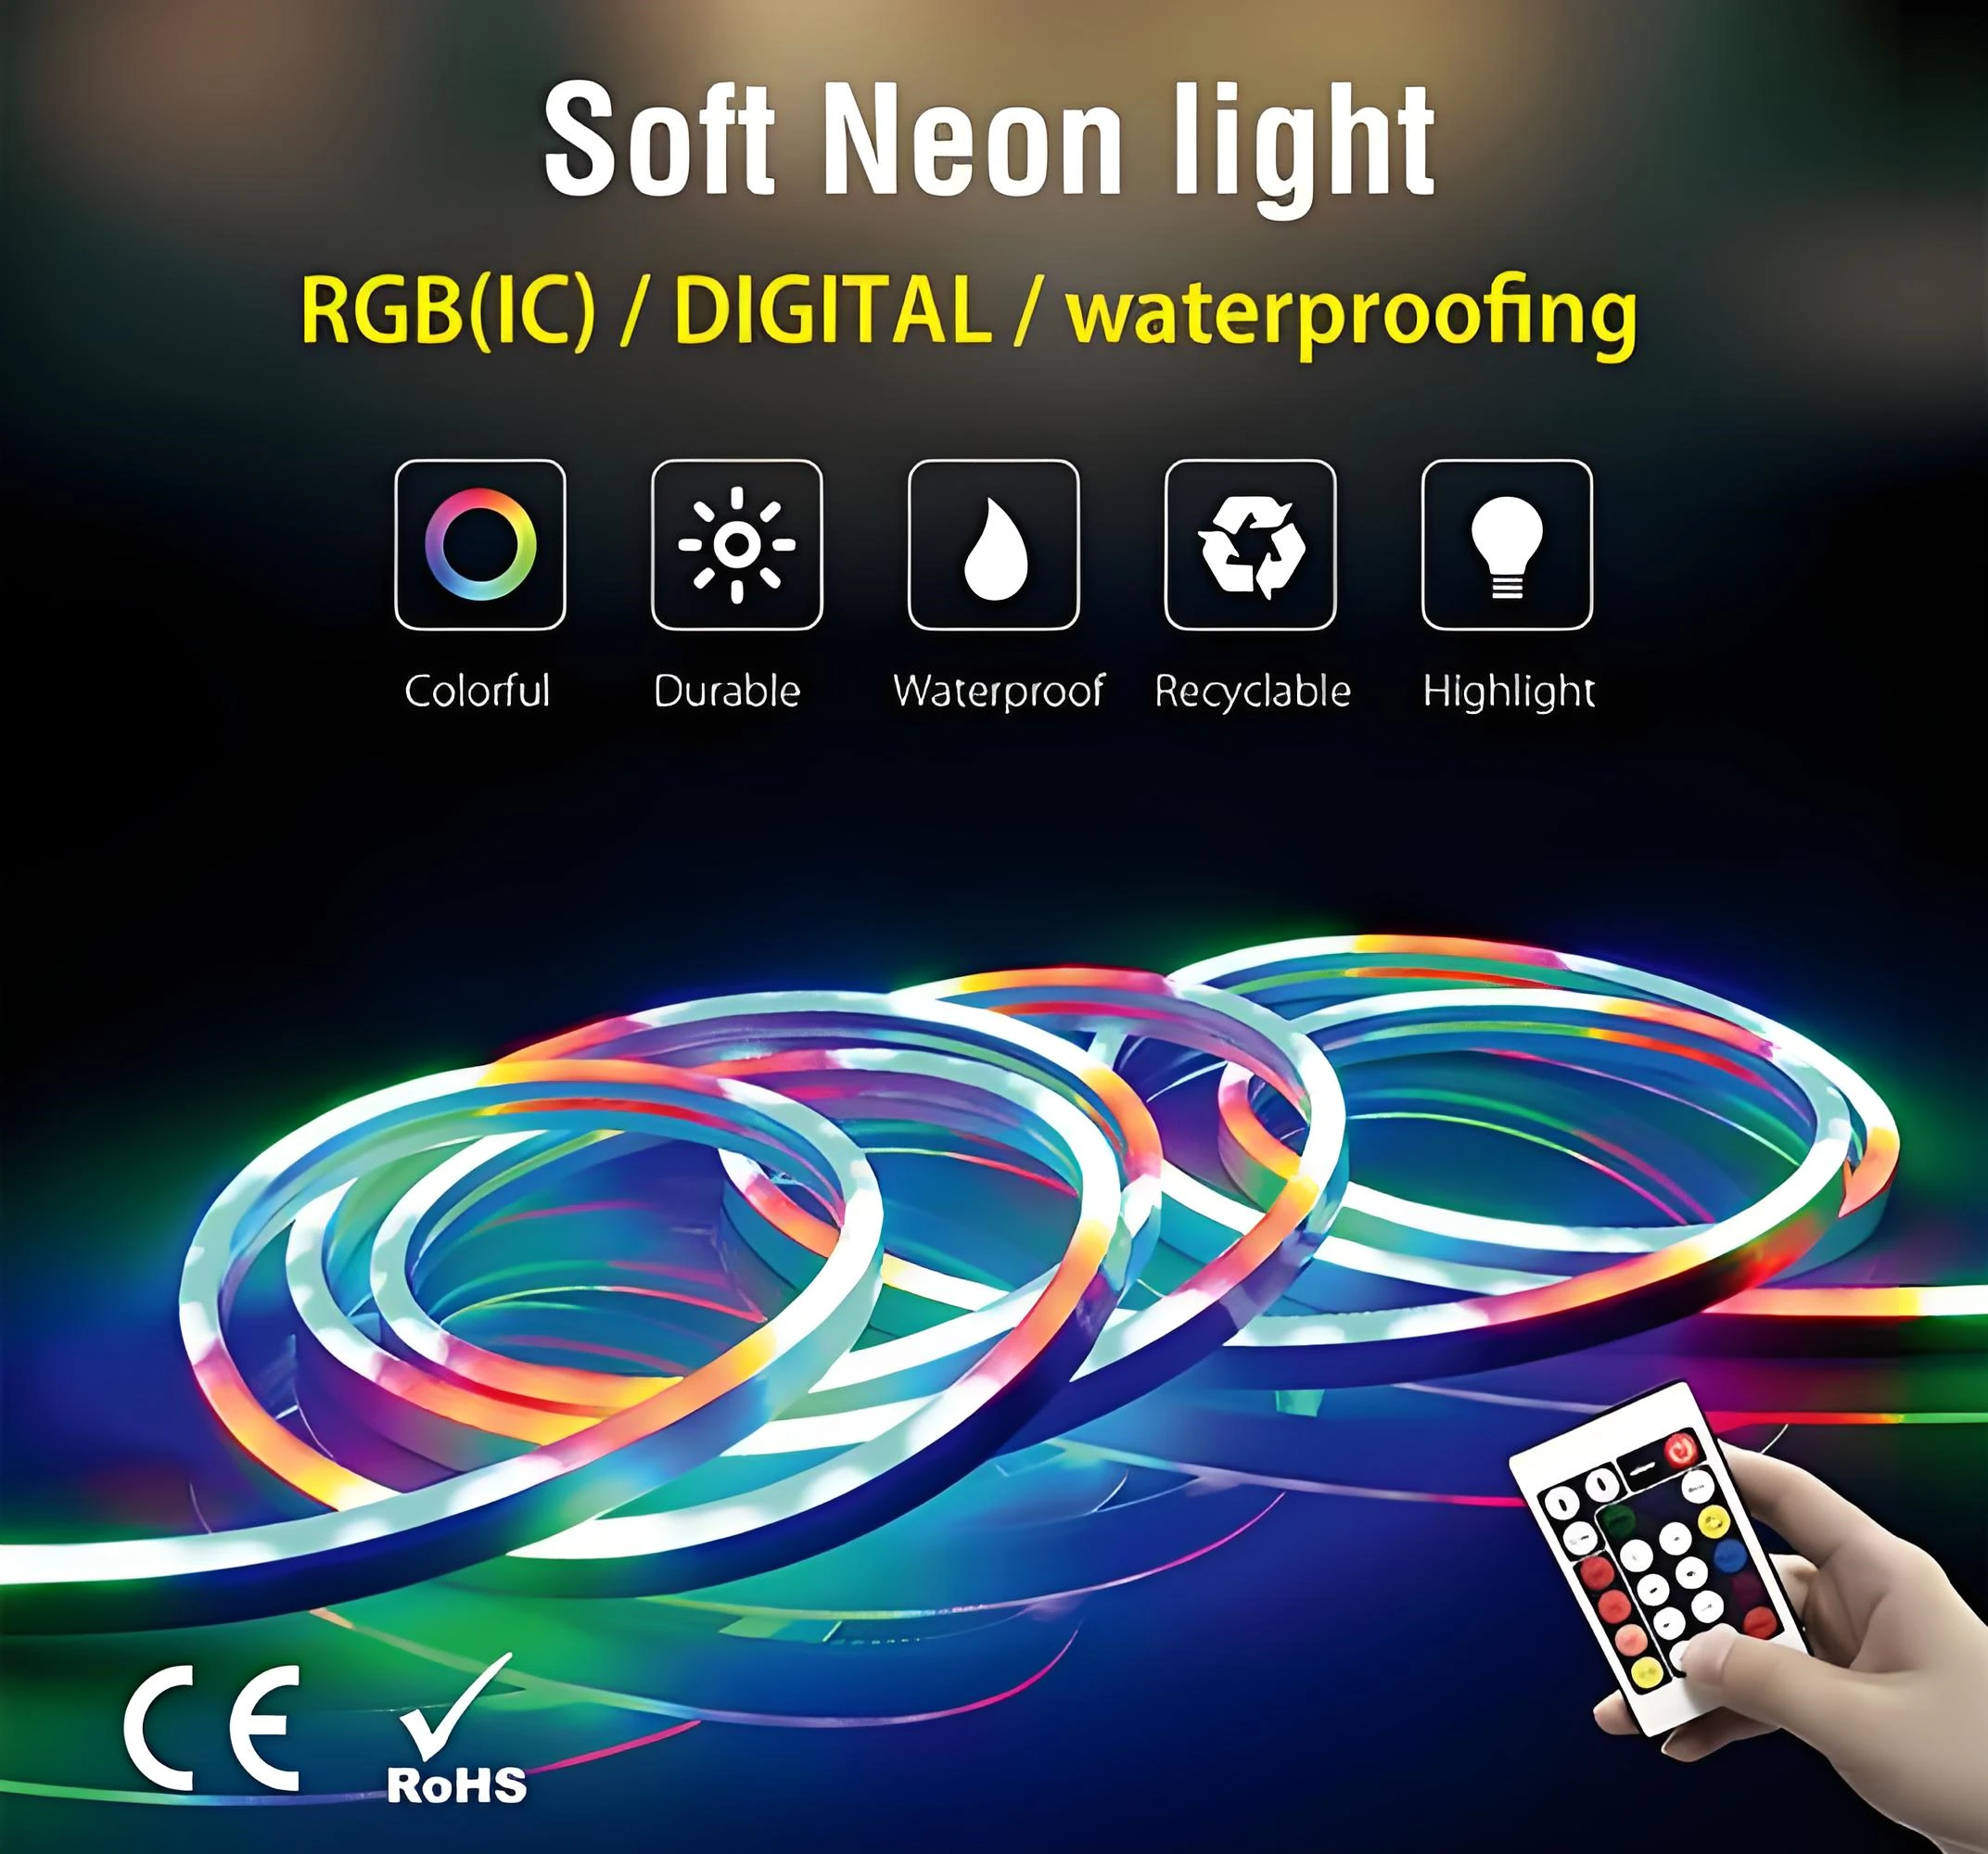
A. As LED strips is driven by battery, the first thing you shall consider about is how long it can last, so the higher efficacy it is, the better; secondly, you have to consider about rainy day, choose water-proof LED strip to avoid getting wet, better to be IP65 silicone coating strip light or IP68 silicone filling strip light, our FQW10T128C is good choice for camping light, it’s DC24V, reaches 1800lm/m but only 10 watts per meter, IP68 water-proof.
B. Determine the Voltage of the LED Strip
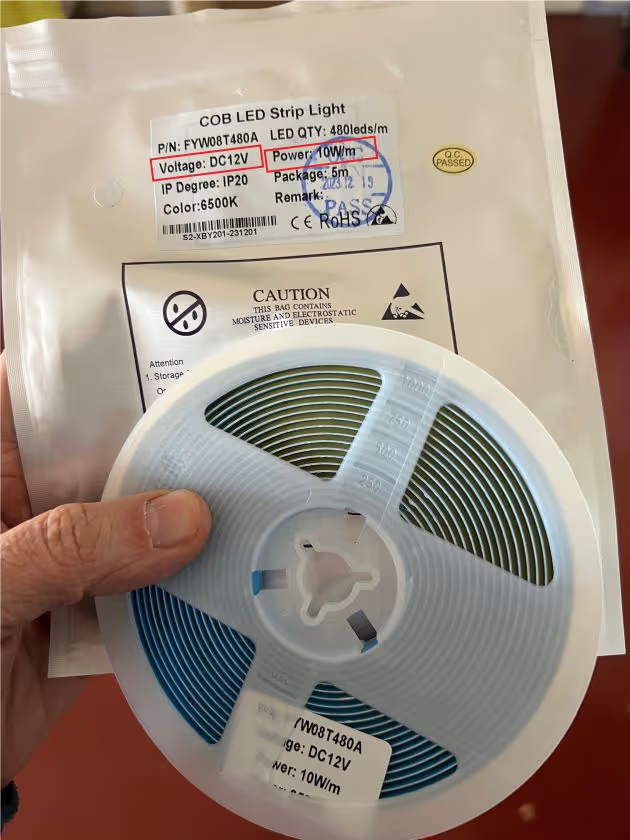
LED strips operate at low voltage to ensure the safety, mostly, it’s 5V, 12V or 24V. But some of them run at higher voltage like 48V, as this can reduce voltage drop for long run. Check the datasheet of the LED strips, find out it’s rated voltage.
C. Check the Current Draw of the LED Strip
LED strips draw a certain amount of current, measured in amps (A). the current draw is related to the length of the strips as its power per meter is set at factory. You can roughly calculate it, but it’s better to use a multimeter to test it if t’s possible.
2. Choose the Right Battery
A. Matching Voltage
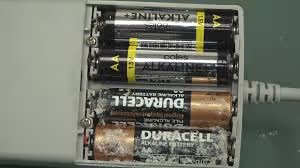
The battery voltage must match the LED strip’s voltage, either you can choose a battery or power bank with the same voltage as your strips, or you can combine standard AA batteries to reach the same voltage (e.g., eight 1.5V AA batteries in series).
B. Sufficient Capacity
The battery’s capacity, measured in milliamp-hours (mAh) or amp-hours (Ah), determines how long the LED strip will run. A higher capacity battery will provide longer run time.
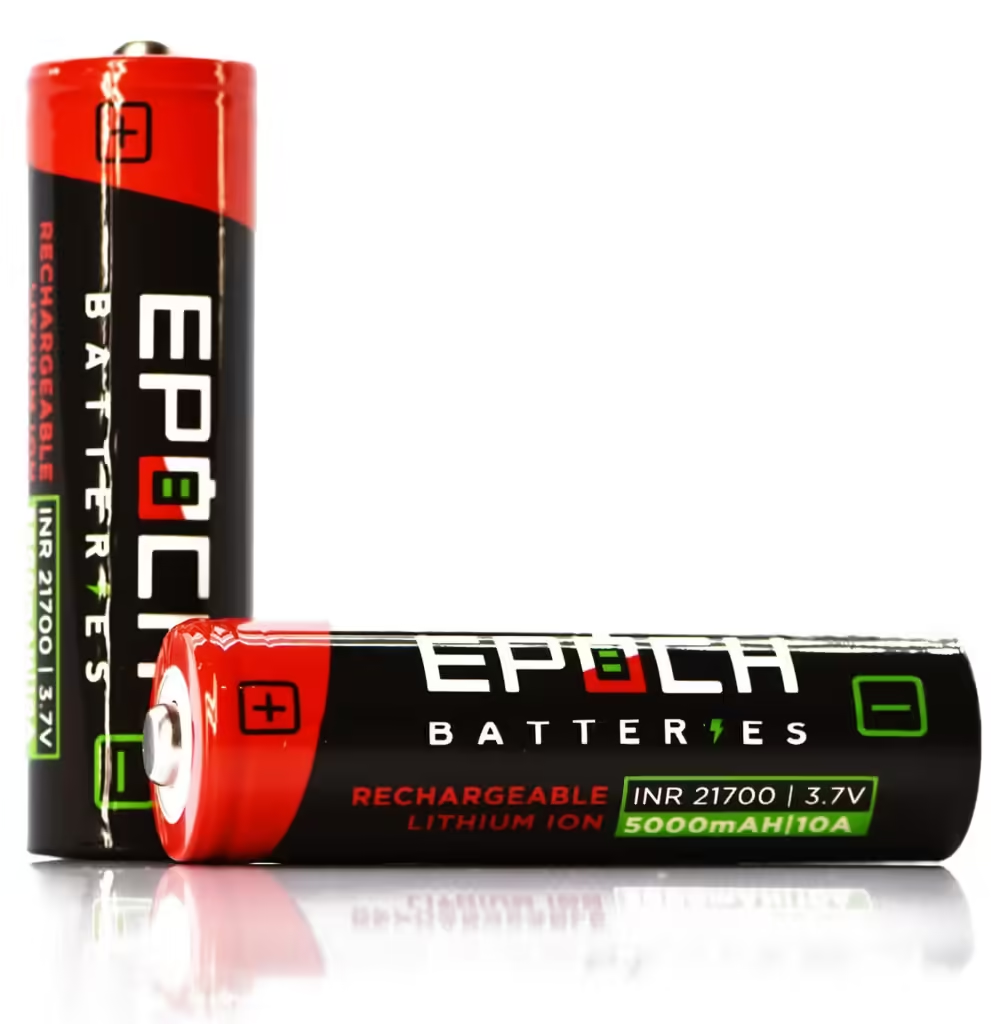
C. Battery Type
You can choose either rechargeable or disposable battery, depends on how often you use it. Rechargeable battery is more environmentally friendly and economical, it’s better for camping trip lover.
According to chemistry, batteries are divided to Lithium, NiMH, alkaline, etc. LiPo is the most safe rechargeable battery.
3. Connecting LED Strips to Battery
This is a very important part, you have to choose the right connectors to the battery. For example, if you use 1.5V AA battery, you can get a battery hold with wires, it’s easy to connect wires of theirs together. But if it’s power bank, it comes with USB interface, you have to buy a USB-to-DC cable.
4. Example Setup
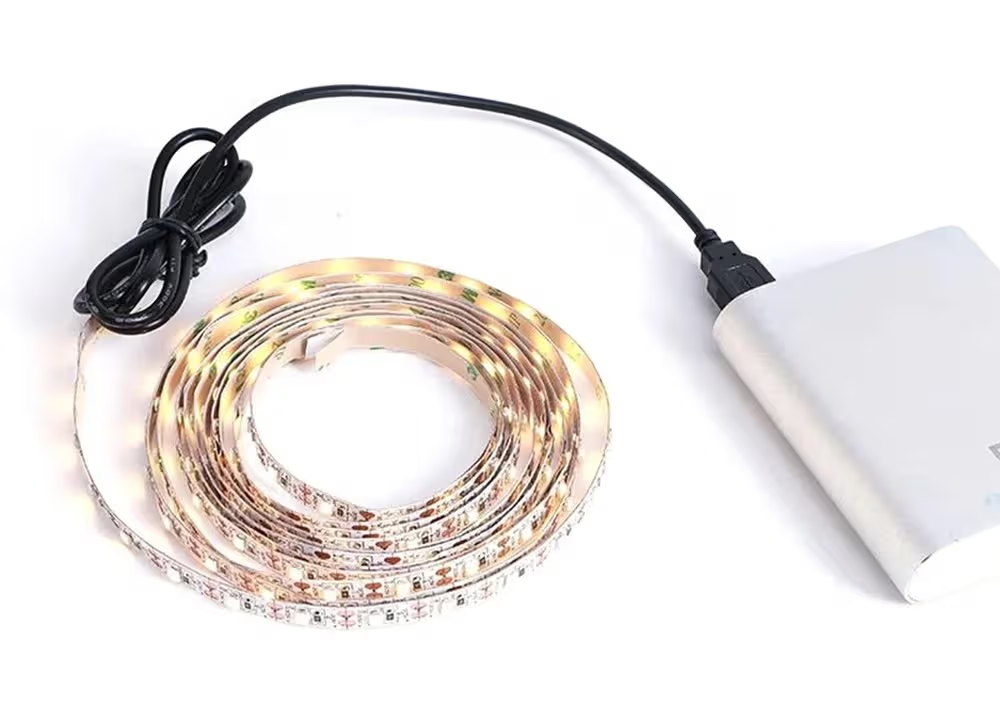
A. 5V Strip Light with Power Bank
Simply connect strip light to power bank through USB-to-DC cable
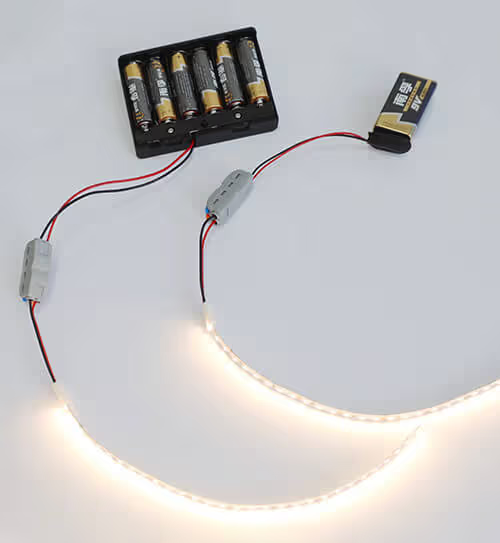
B. 12V COB Strip Light with AA Battery
Use a battery holder that holds eight AA batteries in series to provide 12V. Connect the battery pack to the LED strip, ensuring correct polarity.
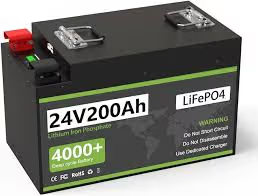
C. 24V Strip Light with Battery Pack
Buy a specialized 24V battery pack or you can combine sixteen AA batteries in series to provide 12V, then connect them together.
5. Estimated Run Time
To estimate how long the battery will power the LED strip:
A. Calculate the Power Consumption: Power(W) = Voltage(V) X Current(A)
B. Determine Battery Capacity: Battery capacity is often given in mAh. Convert this to Ah if necessary by dividing by 1000.
C. Estimate Run Time: Run Time(hours)=Battery Capacity(Ah) / LED Strip Current(A)
E.g., LED strip is 12V, 60W, its current is 60/12=5A. Battery is 12V, 20Ah. Estimate run time is 20/5=4hrs. This is theoretical value, considering the voltage and current of LED strips changes during working, it’s normally less than 4hours.
6. Safety Consideration
A. Overcurrent Protection: Ensure the battery has overcurrent protection or use a fuse to prevent excessive current from damaging the LED strip. Power bank is integrated with protection module, much safer.
B. Fire Risk: Choose better batteries, low quality batteries is likely to fire.
C. Liquid Leakage Risk: Alkaline battery has liquid leakage risk especially when it’s exhausted.
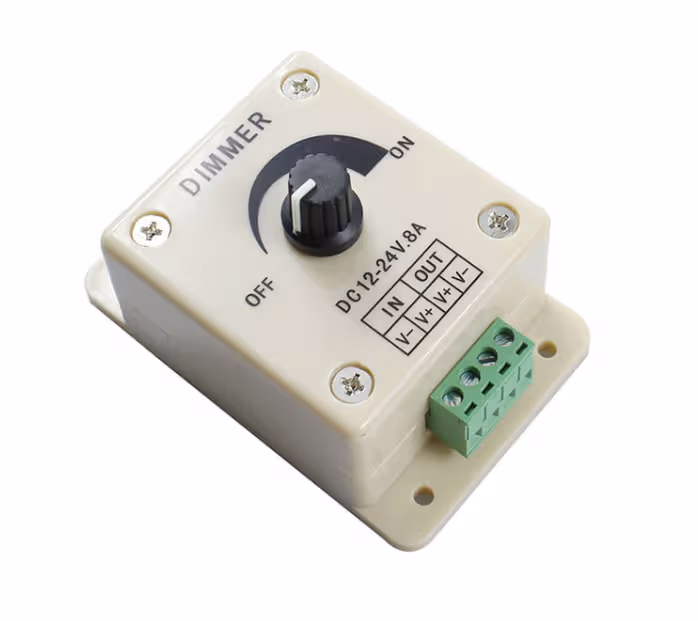
D. Battery Life: Continuously running the LED strip on battery power will drain the battery quickly. Consider using a switch or dimmer to control the power usage.
E. Heating on Cable: Better to use large gauge cable to avoid too much heating and voltage drop.

7. Additional Components
Power Switch: to turn on and turn off the light.
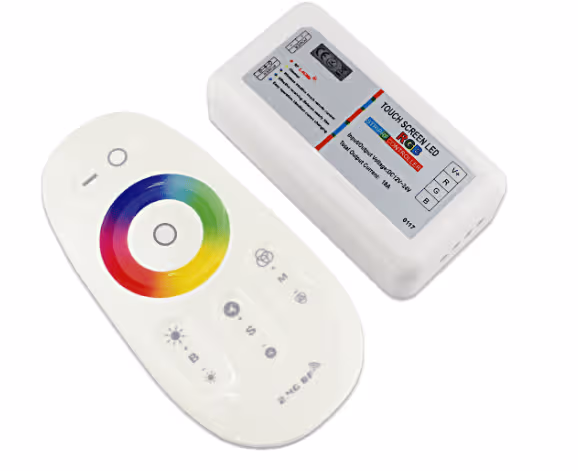
Controller: if you want to dim the strip, you have to get a controller, especially for RGB strips.
Voltage Regulator: It helps precise voltage, keep the output voltage of battery steady.
Standby Battery: It’s necessary to have standby battery in case battery running out.
In conclusion, DIY your own camping light with LED strip light is not complex, as long as the voltage of battery matches to the strip, and ensure the battery can supply sufficient current. With the right setup, this can be a portable and effective way to power your LED strip.