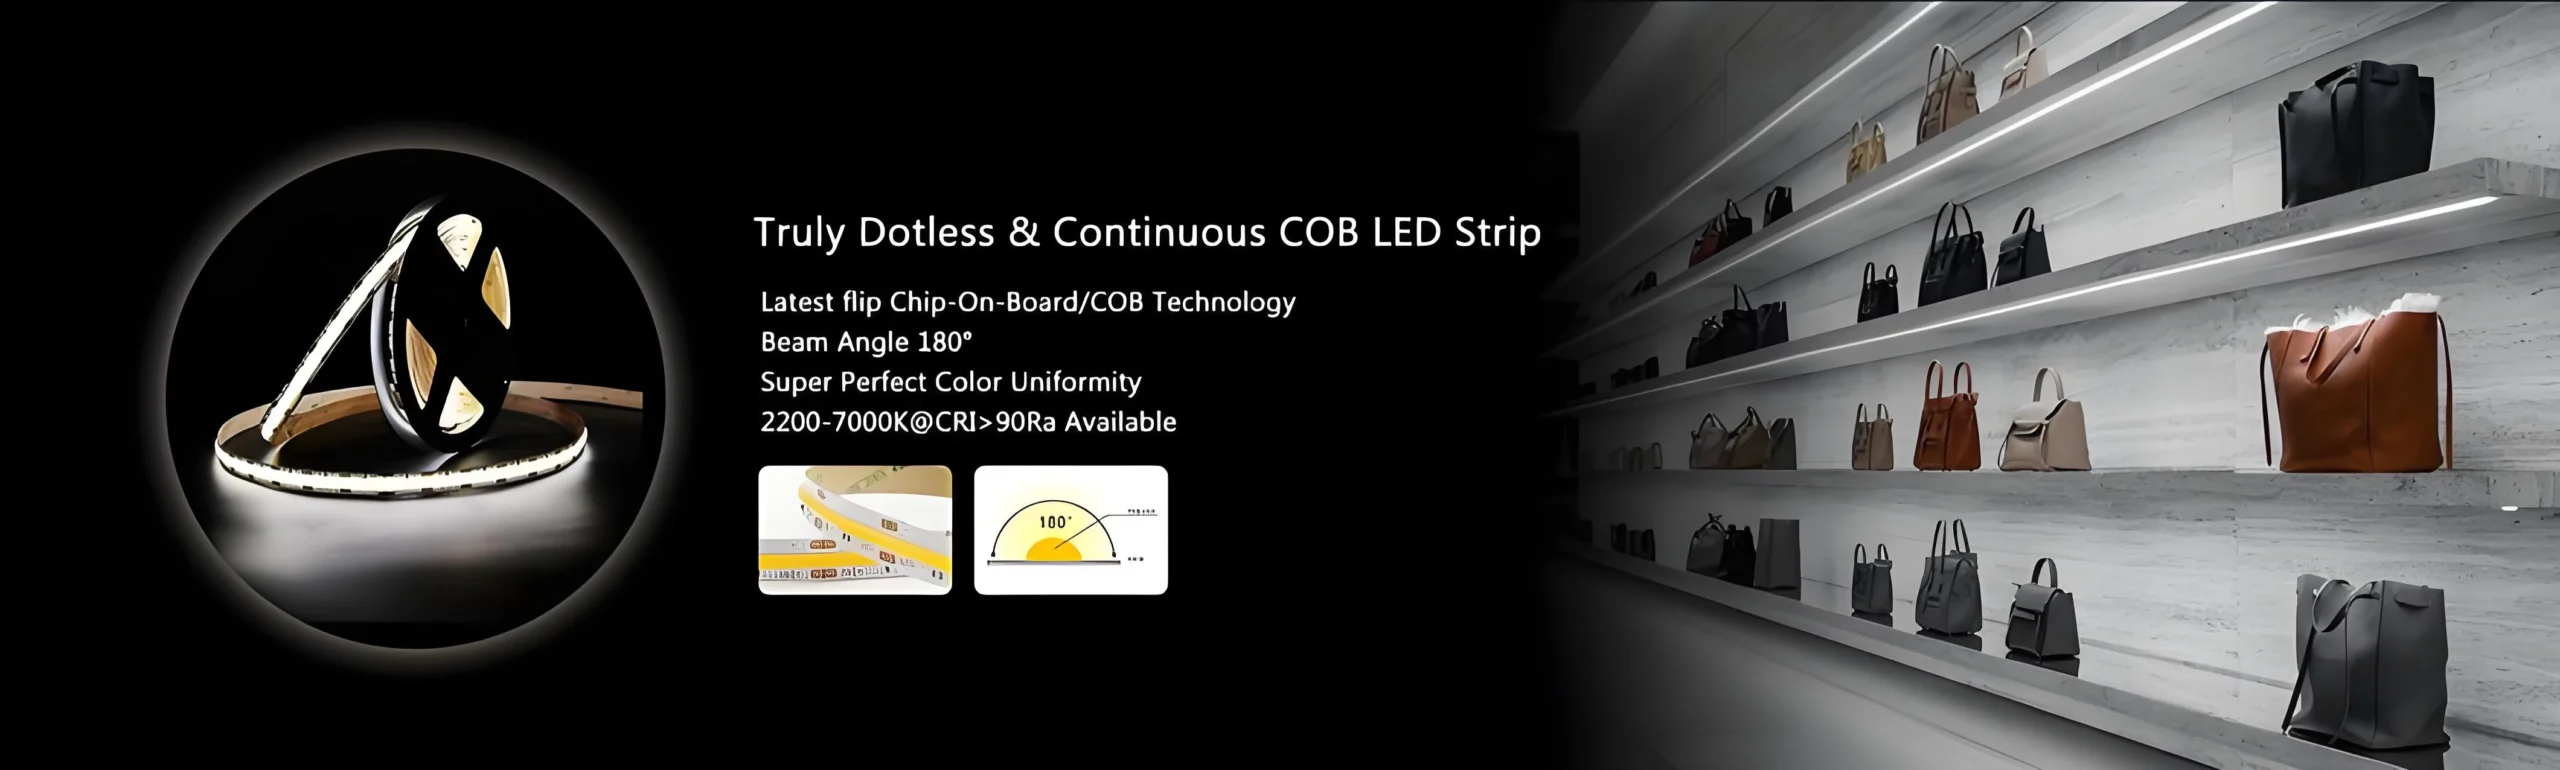
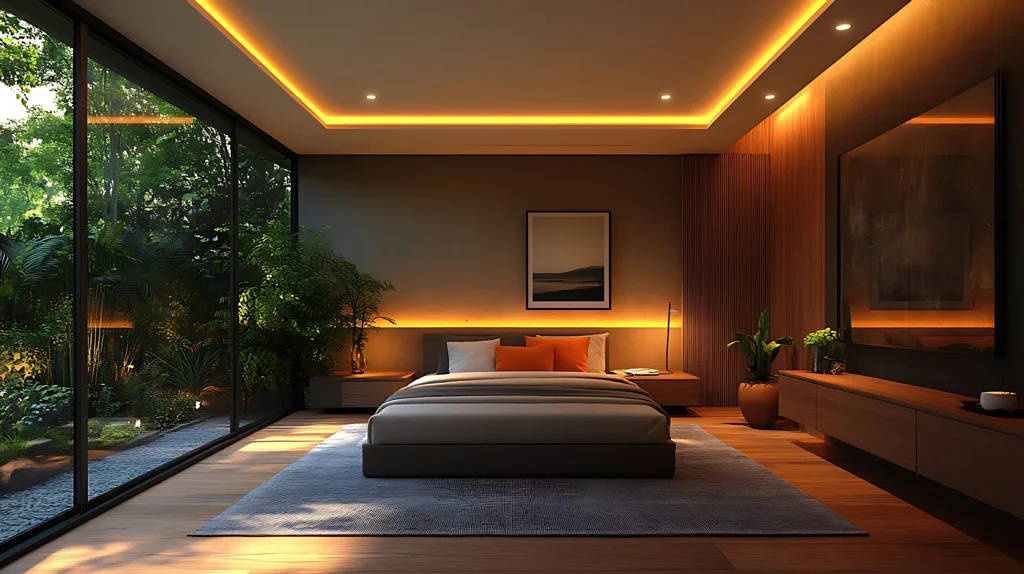
12V LED strip lights are a simple and affordable way to add accent lighting to your space. These flexible strips, also known as LED ribbon lights, are easy to install on many surfaces. They give off soft, smooth light and are safe to use in small areas. The low 12V DC power makes them energy-saving and helps keep the lights cool. Many people use them for under-cabinet lighting, shelves, cove lighting, and more. They also work well in cars and boats.
In this article, we will show you how to power your LED strips properly and explain different ways to connect them for the best lighting results.

What are the basics of 12V flexible LED strips?
12V flexible LED strips are light strips with a bendable base. They usually use 5050 LEDs. This number refers to the size of the LED chip. 5050 LEDs are bright, cool-running, and commonly used. Another type is 3528 LEDs, but they are smaller and not as bright. Larger LED types give more light but cost more and may get hot, so extra cooling is needed.
These strips come in different white tones like 3000K (warm white), 4000K (neutral white), and 6500K (cool white). You can also choose colored strips in red, yellow, green, blue, or RGB for color-changing effects.For more info on the basics of 12V flex strips, check here.
If you choose white LED strips, there are two density options. Density means how many LEDs are on the strip per meter. The standard type has 30 LEDs per meter (150 LEDs per reel) and gives around 540 lumens per meter. The high-density type has 60 LEDs per meter (300 LEDs per reel) and gives around 1080 lumens per meter.
If you need very bright light for tasks, the high-density strip is a better choice. If you only want soft light for decoration, the standard one is enough. It also costs less and is not too bright. Please note that high-density strips use more power. We will explain how to power them below.

Each 12V LED strip usually comes in a 5-meter (16.4 feet) reel. At SignliteLED, we also offer shorter options, such as 3, 6, 9, and 12 feet. You can cut the strips at the marked points. Standard density strips can be cut every 4 inches, and high-density ones every 2 inches. You can add connectors after cutting to join strips easily.
These flexible strips are easy to install. They have adhesive tape on the back and can stick to flat or curved surfaces. A silicone layer helps protect them from water. Using 12V LED strips can save time and lower project costs.
Many users face two common problems:
- Not sure which power supply to choose.
- Not knowing how to connect multiple strips.
Below, we will share some simple tips to help you power your LED strips the right way.
How to power LED strips?
A constant 12VDC input is required for these strips. The only other thing you need to know in terms of finding a power supply for your LED strips is the wattage. The specs below lists wattage for both standard and high density strip lights. This will help you find the wattage of your system easily and then select the appropriate power supply.
| Length (Ft.) | Length (Meters) | Wattage(30 LEDs/M) | Wattage(60 LEDs/M) |
| 1 | 0.3048 | 2.4 | 4.8 |
| 2 | 0.6096 | 4.8 | 9.6 |
| 3 | 0.9144 | 7.2 | 14.4 |
| 6 | 1.8288 | 12.15 | 20.8 |
| 9 | 2.7432 | 22.05 | 33.6 |
| 12 | 3.6576 | 22.05 | 33.6 |
| 16.4 (Full Reel) | 5 | 27 | 40 |
Calculating Wattage, Example #1: So imagine you just have a length of about 20 feet that you need to cover in one solid run with Standard Density strips. This would be achieved by using a full reel and then adding on 4 extra feet with a gapless connector. Using the table above we can find this.
Wattage = Full Roll Wattage (Standard) + 3Ft. Wattage + 1Ft. Wattage
Wattage = 27 Watts + 7.2 + 2.4
Wattage = 36.6 Watts
You usually want to give some cushion between your wattage and the rated wattage of the power supply. With this application you should find a 12V power supply capable of at least 40 Watts.
Calculating Wattage, Example #2: Take for example you want to run 18 feet of high density LED strips for another application.
Wattage = Full Reel (high density) x 2Ft. Wattage
Wattage = 40 + 9.6
Wattage = 49.6 Watts
For this application I would stick with a 50 Watt power supply at least. Remember we want to give the supply a little cushion so you would be safer choosing a 60 Watt power supply.
What are the options for LED power supply?

The first option would be to go with a plug-in power brick. Wall Wart or desktop power supplies will plug directly into your wall outlet and switch the line voltage down to 12VDC for the strips. This is handy for smaller applications or in spots where you have a hidden outlet that is out of the way. It certainly makes wiring easier as you just plug in and don’t have to connect wires directly to main lines.
This brings us to our second option, a hardwired power supply that connects straight to 120VAC lines and then outputs the safe, low DC voltage to your strips. These power supplies typically come in more discrete sizes and can be much easier to hide within walls or wherever needed. Caged, Open Frame Power supplies typically fall in this category as well and are very helpful with their screw-in terminal ports for easy connections and multiple ports. This is definitely a more professional look than just plugging straight into a wall but it will require you to have main lines readily available by your lights.

How to wire LED strip lights?
Plug-in Power Supplies: Most use a 2.1mm male barrel plug. If your strip came with a 2.1mm female plug, simply click it into the adapter for a secure fit. For shorter strips, use screw-in terminal connectors (2.1mm male).
Hardwired Power Supplies: No plugs here! If your strip has a female plug, attach a 2.1mm male screw terminal to the power supply wires. Alternatively, remove the strip’s connector and solder/wire-nut the wires directly.
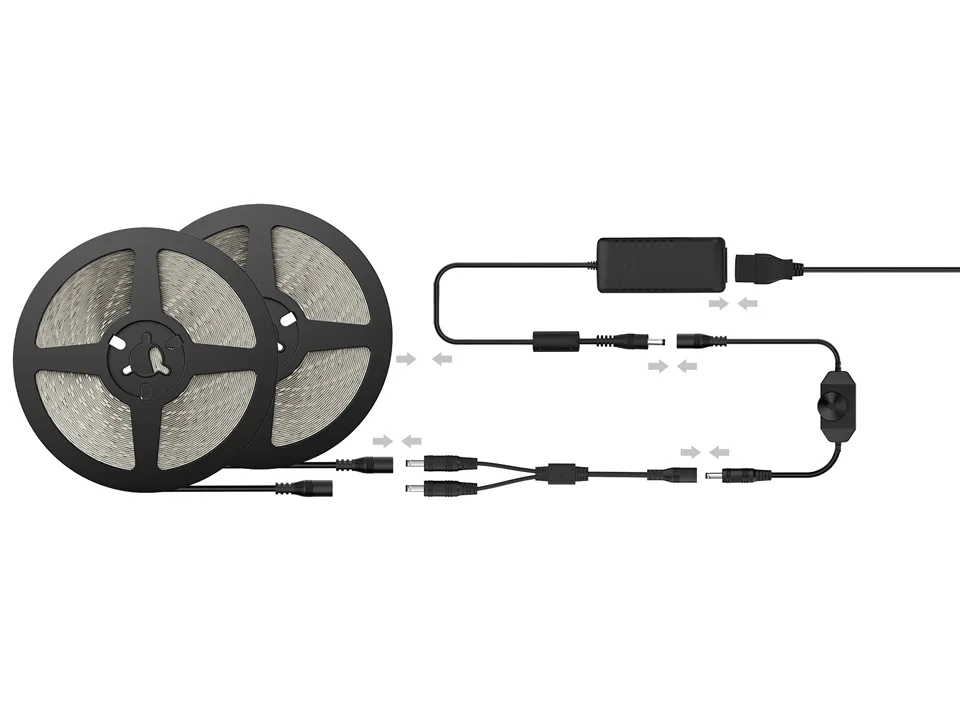
How to Connect Multiple Strips to One Power Source
Need to power several strips? Try these options:
Plug-in Setup: Use an LED strip splitter cable. Plug both strips into the splitter, then connect it to the power adapter. Splitters can support up to 4 strips!
Hardwired Setup: Link all strip wires (positive/negative) to the power supply’s output wires using wire nuts or soldering.
Let us know if you need more help!
What is voltage drop and how to avoid it?
A very important consideration that is commonly overlooked with these flex strips is the effect of Voltage Drop. In DC circuits, voltage will gradually decrease as it travels through wire (or LED strip). Simply put, with each foot of wire, the available voltage to each foot drops along the length of wire. This will effect Standard Density Strips wanting to go longer than 32 feet and High Density Strips wanting to go longer than a full reel (16.4 feet). If you go longer than these lengths, the strips will be affected and will not work properly, so you cannot chain strips together longer than 32 for standard density and 16.4 for high density.
To prevent voltage drop you will want to divide long runs of LED strips into shorter lengths. The shorter lengths can then connect in parallel from the power supply. There are a couple different ways you can make this happen, lets take a look at the different wiring setups below.
Wiring #1: Running multiple parallel runs of strip lights
You want to install a continuous run of 60 feet of LED strips underneath a bar counter for accent lighting. Since the longest run you can make is 32 feet, you will need to split it into at least 2 lengths. In order to do two equal parts, you should run two strips at 30 feet each. Run the first strip straight from the power source. Run a parallel set of wires to the point where the first strip ends to feed the second strip with power.

Wiring #2: Power Supply in the Middle Approach
This is a great approach if you can somehow put your power source in the middle of a long length of strips you need to run. This way it cuts down on extra wire lengths as you can split it in half and just run both strips in opposite directions straight from the source.

Wiring #3: Use Multiple Power Supplies
Sometimes, rather than run long lengths of wire and split up the wires going from the power supply, customers will choose to use separate power supplies in different areas. This works great if you can supply power in the specific places you would need them, but that is the tricky part.
What parts are helpful for connecting LED strips to power?
This should get you well on your way to setting up your LED strip lights with the right wiring setup and power supply. Like always we wanted to leave you with some helpful parts that will really make connecting strips together a whole lot easier.
LED Strip Splitters: These LED Y-Connectors make it so you can plug in one power source and connect multiple LED runs off it with a simple plug in connection. These are available in RGB and single color options and available in two, three and four output connections.

Screw-In Terminal Connectors: These small connectors come in super handy when you need to make solid connections between two sets of wires. Just by a male and female end, screw down your wire connections for both and plug in with ease. Also works when you need to go from wire leads to a 2.1 or 2.5mm plug of some sort.

EZ Clip LED Strip Connectors: These connectors snap right onto the end of you strips where you cut them. There are strip-to-strip or strip-to-wire options. This makes it easy to connect LED strips or add gaps within the installation without having to solder.

Extension wire for LED strip lights : male and female connector wires can be used to extend the connection between LED strip and power supply. The wires can be waterproof or non-waterproof, and can be made as 2 PIN, 3 PIN, or 4 PIN.

Connecting LED strips to the right power supply is key to getting the best performance. We hope this guide helped you understand the basics.
If you have any questions or need LED products, feel free to contact the Signlite LED factory. Our professional team will provide you with the best solution as soon as possible.