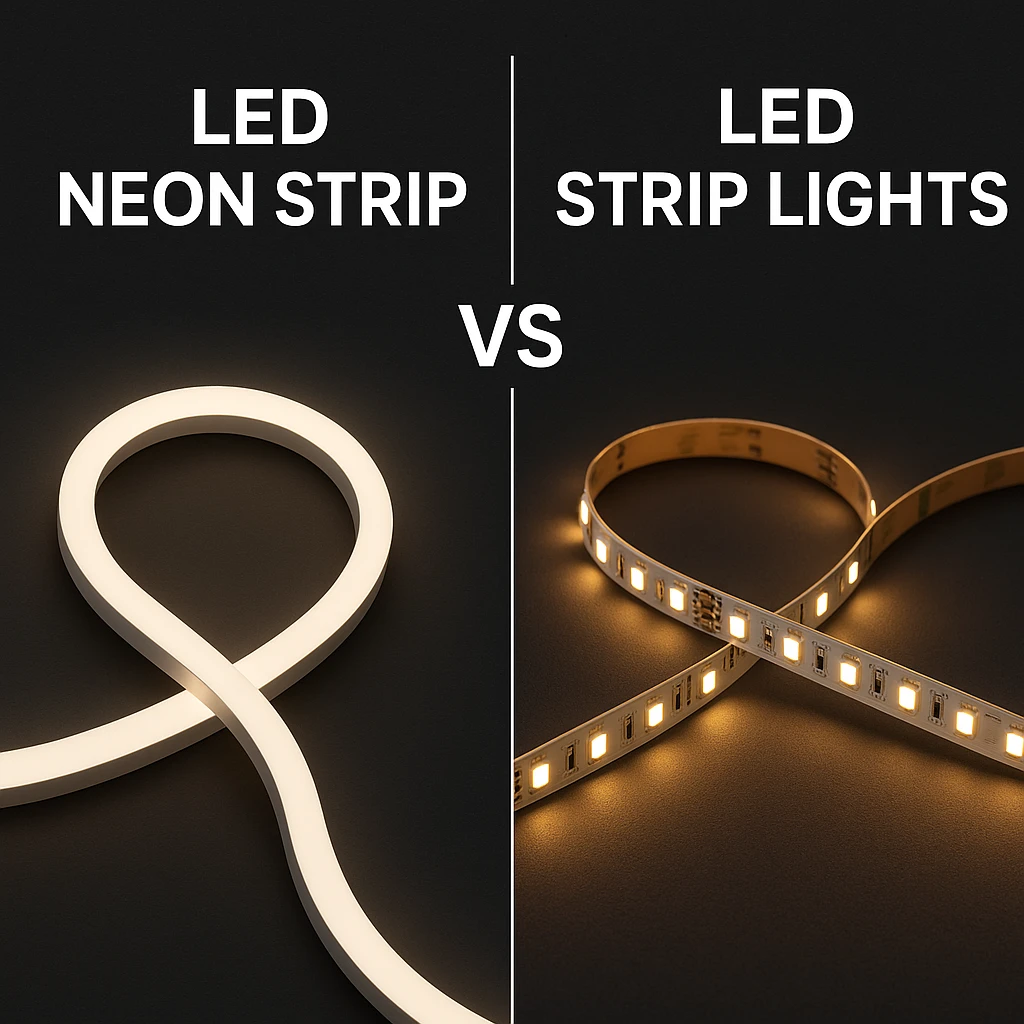
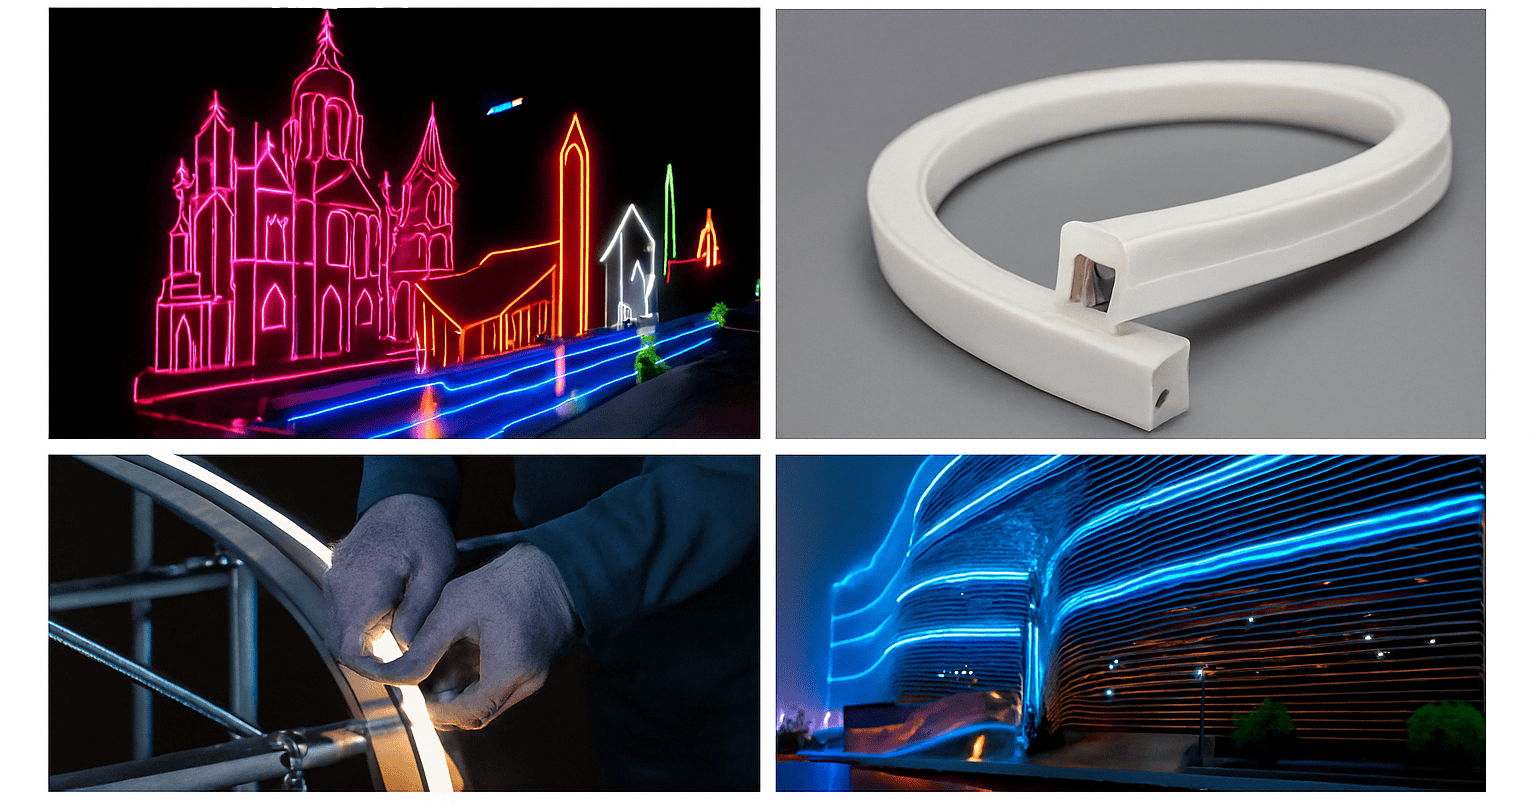
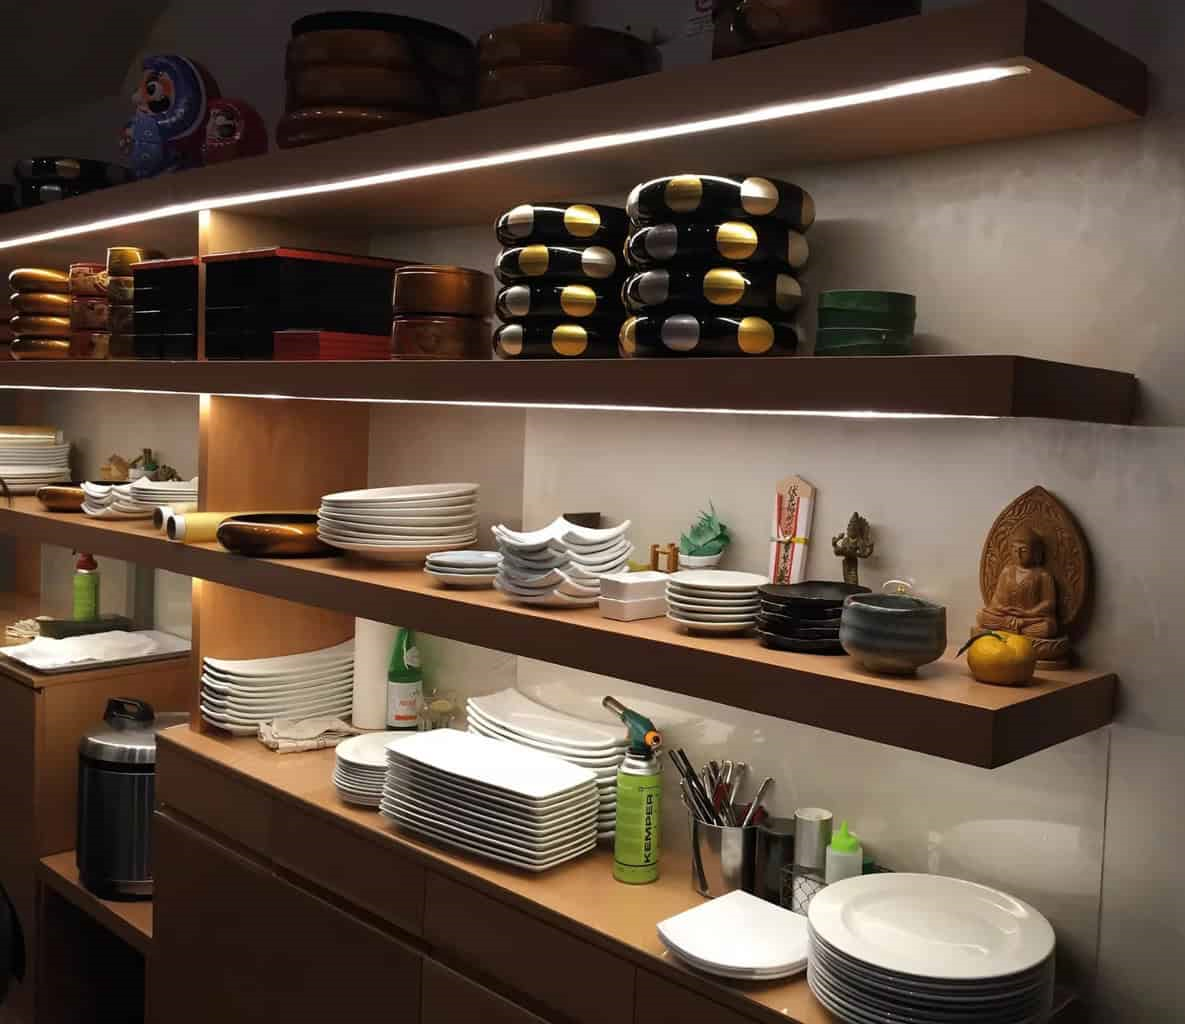
LED lighting is a common choice in modern home décor due to its energy efficiency, flexibility, and aesthetics. And one of the most exciting applications of LED technology is the integration of LED strip lights into mirrors. Mirror LED strip lights are a great solution for enhancing the functionality and aesthetics of a space in bathrooms, bedrooms, vanities, and dressing areas. Not only do these strips provide better lighting for everyday tasks such as beauty and makeup application, but they also add a sleek and modern vibe to the room.
This guide will detail everything you need to know about mirror LED light strips, from understanding their benefits to choosing the right type, installation methods, and how to maintain them to ensure optimum performance. After reading this guide, you will be empowered to give your mirrors a stunning lighting accent.
Benefits of Using LED Strips for Mirrors
1. Enhance aesthetic appeal
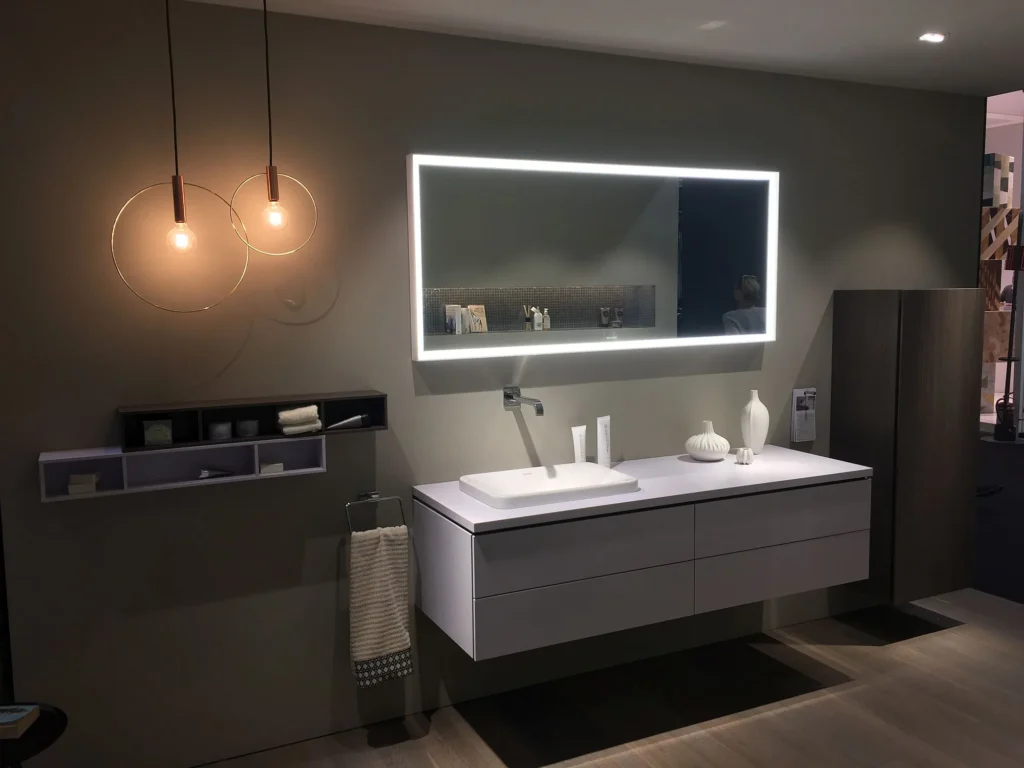
LED strips can greatly enhance the visual appeal of mirrors. They provide a clean, modern feel that suits spaces ranging from minimalist bathrooms to stylish bedrooms. Installed behind or around a mirror, LED strips create a soft halo effect that adds depth to the mirror and makes it a decorative focal point. For those looking for a clean, modern style, mirror LED strips can give mirrors a high-end feel and turn an ordinary mirror into a work of art.
2. Provide better lighting
Good lighting around mirrors is essential for tasks such as shaving, grooming, and makeup application. LED light strips provide bright, even illumination that reduces shadows and sharpens your reflection. This is especially important in areas such as vanities where precise lighting is required. Unlike traditional overhead lights, LED light strips provide an even distribution of light without creating uncomfortable shadows, ensuring that you are able to perform your daily tasks with ease.
3. Energy efficient and environmentally friendly
LED lighting is extremely energy efficient, consuming significantly less power than incandescent or fluorescent lamps. LED strip lights have a long lifespan, often lasting tens of thousands of hours, which reduces the need for frequent replacement. This high efficiency makes it an environmentally friendly choice that not only reduces electricity costs but also provides value for long-term use.
4. Personalization
Another important advantage of LED light strips is that they can be customized to meet your specific needs. LED light strips are available in a wide range of color temperatures, from warm white to cool white, and even offer RGB (red, green, and blue) options, which can create a dynamic color-changing effect. Additionally, many LED strips have dimmable features that allow you to adjust the brightness based on the time of day, the task at hand, or the atmosphere you want to create.
Types of LED Strips for Mirrors
When choosing LED strips for mirrors, it is important to understand the different types and their specific applications. Below are the main types of LED Strips for Mirrors:
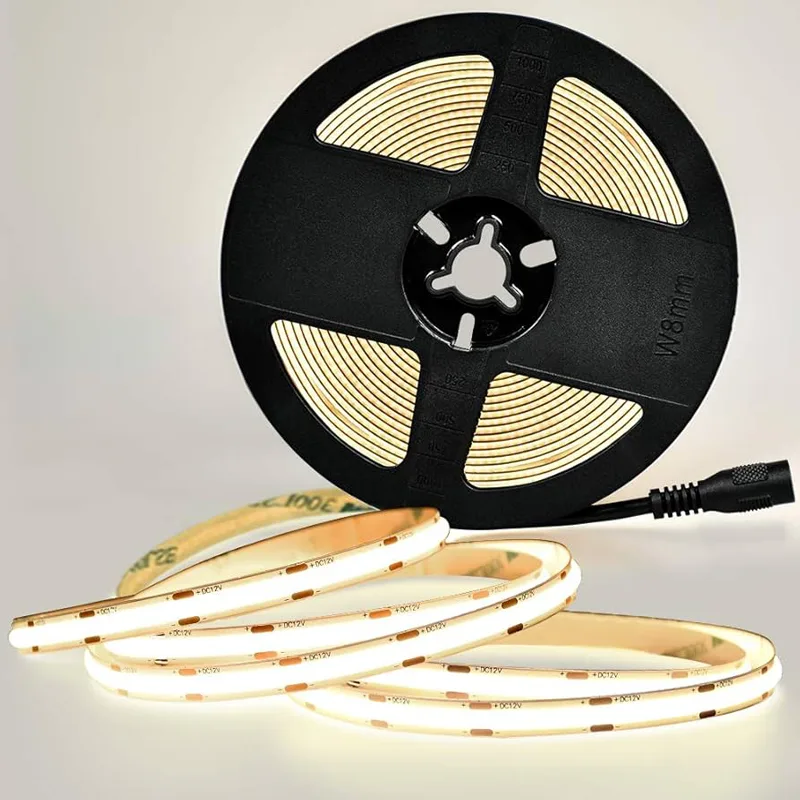
1. Flexible LED Strips
Flexible LED strips are the most popular choice for mirror lighting because of their flexibility. They can be easily bent into any shape and are suitable for mirrors of all sizes and shapes. These strips usually come with a self-adhesive backing, making them quick and easy to install. They are ideal for curved or rectangular mirrors and can be installed around the edge or behind the mirror to create a soft halo effect.
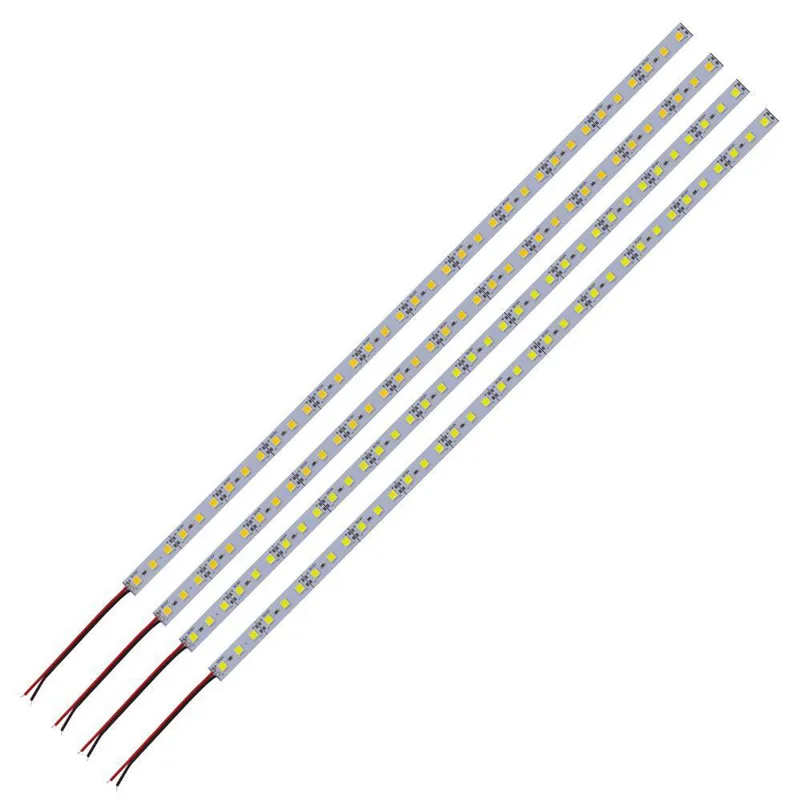
2. Rigid LED Strips
Rigid LED strips are a more durable and long-lasting solution than flexible LED strips and are suitable for large mirrors or where durability is required, such as bathroom vanities. These strips are typically mounted around the perimeter of the mirror or along the top and sides to provide even direct lighting. Due to their rigidity, their light output is more consistent and even, although their shapes are not as diverse as flexible strips.
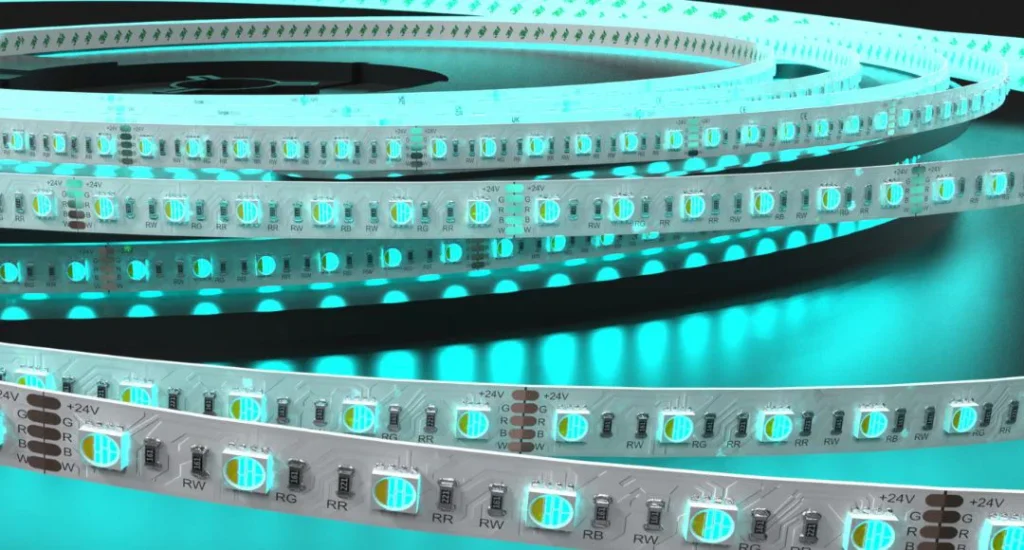
3. RGB and RGBW LED Strips
If you want to add color and creativity to your mirror lighting, RGB (red, green, blue) and RGBW (red, green, blue + white) LED strips are ideal. These strips can change the color of the light to create different atmospheres and effects. The RGBW strips offer an additional white light option, making them useful for both decorative and functional lighting. You can easily switch between colors and lighting modes via the remote control or smart app.
4. High CRI LED Strips
For tasks that require precise color rendering, such as makeup or hair styling, high color rendering index (CRI) LED strips are the best choice. Color Rendering Index is a measure of how accurately a light source displays color, and the higher the CRI value, the more realistic the color compared to natural light. High CRI LED strips ensure that colors look more realistic and are ideal for use in vanity mirrors or dressing rooms to ensure perfect lighting.
How to Choose the Right LED Strip for Your Mirror
1. Consider Location
The type and color of LED strip for your mirror depends on where it is installed and what it is used for. Some areas need bright light to get the job done, while others may need soft, attractive light. For example, if you want to install a lighted mirror in your bathroom, it will need to be dim and comfortable. However, a mirror in a barbershop should be bright enough to ensure proper visibility when getting a haircut. Therefore, consider the location and pay attention to the lighting requirements before choosing any LED strip.
2. Color Temperature
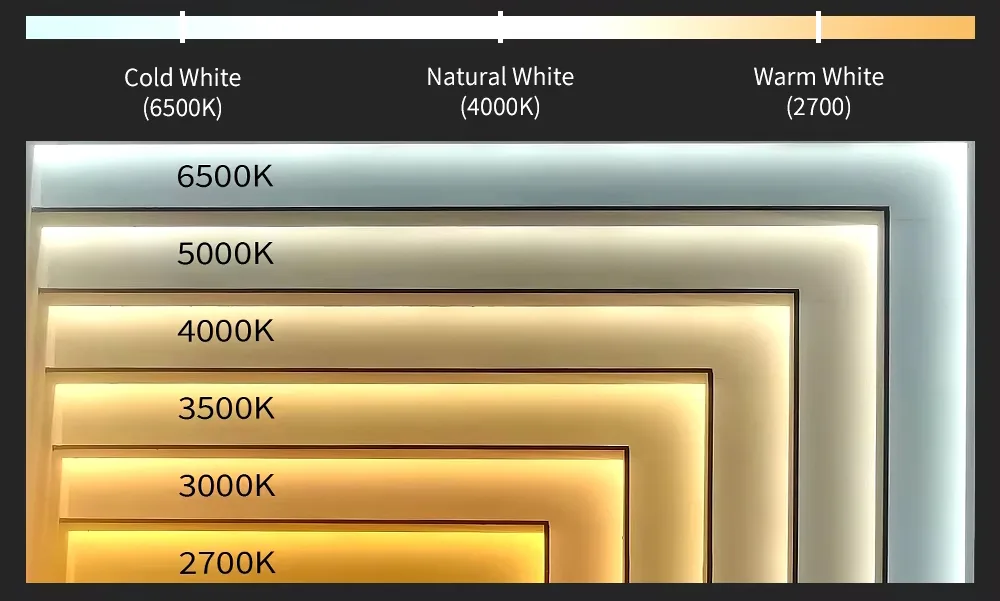
The color temperature of the LED strip has a significant impact on the effectiveness of mirror lighting. Color temperature is measured in Kelvin (K) and ranges from warm yellow to cool white.
- Cool White (5000K-6000K): Ideal for functional tasks such as make-up, shaving, or beauty treatments. Cool white light provides bright, clear illumination and is particularly suitable for bathroom mirrors.
- Warm White (2700K-3500K): Ideal for creating a cozy atmosphere, often used for decorative mirrors in bedrooms or living rooms. Warm white light adds a soft, cozy glow to the space.
- Neutral White (4000K-4500K): Between warm white and cool white, suitable for multi-functional spaces, such as bedroom dressers.
3. Brightness level (lumens)
The brightness of LED light strips is measured in lumens. The appropriate brightness depends on the size of the mirror and the ambient light in the room. For bathroom mirrors, a higher brightness level (800–1000 lumens per meter) is recommended to ensure adequate illumination. In bedrooms or decorative settings, softer, dimmable strips may be more appropriate.
4. Size
Before purchasing any LED strip for your mirror, you must know how many strips are required for lighting. Typically, LED strips are supplied on 5-meter reels. Don’t worry; if you need less than 5 meters, you can cut the LED strips to the required size. They have cut markings on the body so that you can easily adjust the size using a mirror.
5. Dimmability
You may be wondering why you should consider dimmability when choosing mirror LED strips. Let me explain the concept with an example. Let’s say you are in front of a vanity mirror for skin care. For this purpose, soft pastel lighting is best suited to relax your skin. However, this dim lighting will not be effective when using the same vanity to apply makeup or remove facial hair. To accomplish these tasks, you need bright lights to ensure that your face is clearly visible. That’s why you must check if the LED strip is dimmable in order to use your DIY mirror lighting for multiple purposes.
6. LED Density
The number of LEDs per meter or the density of LEDs has a great impact on the lighting appearance of the LED strip. When you install a low-density LED strip onto a mirror, it creates a dotted effect. While many of you may like the dotted effect, I recommend using high-density LED strips. They provide an even and neat lighting output. As a result, your mirror looks seamless.
7. IP Rating
Are LED strips for bedroom vanity mirrors suitable for your bathroom mirror? The answer is yes. Lighting in the bathroom comes into close contact with water. That’s why you need to choose LED strips that are splash-proof. But for bedroom mirrors, you don’t need waterproof LED strips. That’s why you need to have a clear understanding of IP ratings in order to choose the best LED strips for your DIY mirror lighting project.IP stands for Ingress Progress.
A higher IP rating means better protection against solid and liquid ingress. If you are placing your mirror outdoors or in an area that is in close contact with water, be sure to purchase an LED strip with a higher IP rating.
8. CRI Rating
CRI stands for “Color Rendering Index.” It determines how accurately the LED strip mimics natural light and is rated on a scale from 0 to 100. The higher the CRI, the more accurate the color. This is important for specific lighting in commercial spaces such as clothing stores, salons, jewelry stores, etc. For example, in stores with a low CRI, the LED strip will be more accurate. For example, in a store with low CRI lighting, the color of a dress may look pinkish. But when you see it in natural light, it will show that the actual color is red. For DIY specular lighting, always set the CRI above 90 to avoid this.
How Do I Install LED Strips on Mirrors?
LED strips can make your ordinary mirrors look stylish and modern. You can easily accomplish this task by following the steps below.
Step 1: Gather all the necessary materials
The first step to DIY mirror lighting with LED strips is to gather all the necessary materials. Here are the materials you need:
- LED Strips: Purchase LED strips that fit your mirror. When choosing a light, you must consider the mounting location, color, IP rating, etc. The discussion in the above section will help you choose the right light for your mirror. The discussion in the above section will help you choose the best light bar.
- Scissors and Measuring Tools: A tape measure will determine how many strips you need to illuminate your mirror. You should also have a pair of sharp scissors to cut the strips to the right length.
- Cords and connectors: You may need cords to connect the LED strips to a power source. Also, have some LED strip connectors in your toolbox for connecting one strip to another.
- LED Drivers and Controllers: The LED driver serves as the power source for the LED strip; it ensures that voltage and current flow properly within the fixture. You will need an LED controller to control the brightness, light color, and other settings. There are different types of controllers available, including wireless, DMX512, Triac, DALI, 0/1-10V, and more.
Step 2: Measure the Mirror
Take out a tape measure and measure how many LED strips are needed to cover the entire mirror. For round mirrors, add extra length as you will need to shape the strip of lights, which will require more inches. If you have a rectangular mirror, I recommend measuring the length and width separately to make it easy to install the light strips.
Step 3: Cutting the LED Strips
Once you have determined how many LED light strips you will need, cut the strips to your specifications. Grab your scissors and cut exactly according to the cutting marks. If you accidentally cut it wrong, the LED strip may not light up. In this case, you need to re-cut the strip according to the adjusted cut marks.
Step 4: Clean the mirror
Once you have gathered all the materials, it’s time to clean the mirror and its surrounding surfaces. This step is important because the LED strip comes with an adhesive backing. If the surface is not clean, the adhesive will not stick firmly. As a result, the fixture can easily fall off. Therefore, make sure that you clean the area. For this purpose, you can use isopropyl alcohol to clean the mirror. However, before installing the light strip, make sure that the surface area is completely dry. If it remains wet, the adhesive will not be able to stick to the mirror.
Step 5: Mounting the LED Strip to the Mirror
The next step is to mount the LED strip to the mirror. In this case, you can implement different strategies depending on the type of mirror. Below is the process of adding frameless and framed mirrors to install LED strips:
Frameless Mirrors
If you have a frameless mirror, the best way to install an LED strip is to add a border. Leave one inch of space on all sides of the mirror. Remove the LED strip, peel off the adhesive backing, and stick it to the mirror to create the bezel. Keep in mind that the mirror should be pre-mounted to the wall to create this border effect.
Framed Mirrors
If your mirror is framed, you can mount the lights to the frame to create a backlit effect as well. The process is as follows:
- Lifting Over or Inside Edge of the Mirror Frame: If your mirror is flat-framed, you can install LED strips above the Frame. Simply measure the length and width of the frame and place the LED strip on top, removing the adhesive. Press down on the strip to make sure it is securely fastened to the frame. In this case, using the mounting clips to secure the LED strip to the frame is ideal. However, you can also use the LED strip to create an internal profile. Leave a one-inch space on the inside edge of the frame. This will create a double border for the mirror—one for the actual frame and the other for the illuminated LED strip.
- Backlighting the Mirror Frame: Another way to attach LED strips to a framed mirror is to backlight it. Turn the mirror over and partially mark one inch inward from the edge. Peel off the adhesive backing of the LED strip and attach it to the markings around the mirror. Now, mount the mirror to the wall with it facing forward.
Step 6: Mounting Hardware
Once you have mounted the LED strip to the mirror, it is time to place the mirror on the wall. To do this, you will need to install the mounting brackets. Determine where on the wall you want to mount the mirror. Mark it and then use a drill to mount the bracket to the wall. Now, place the mirror and secure the bracket.
Step 7: Prepare the Power Supply Unit
The last step is to energize the LED strip. Connect the LED driver to the mirror’s LED strip and plug it into an electrical outlet. Now turn on the lights and watch them glow. Your DIY mirror is ready!

Lighting Effects and Styles for Mirror LED Strips
Mirror LED Strips can be customized to suit different needs and environments. Here are a few common design styles to help you understand how to skillfully incorporate LED strips into your mirror design:
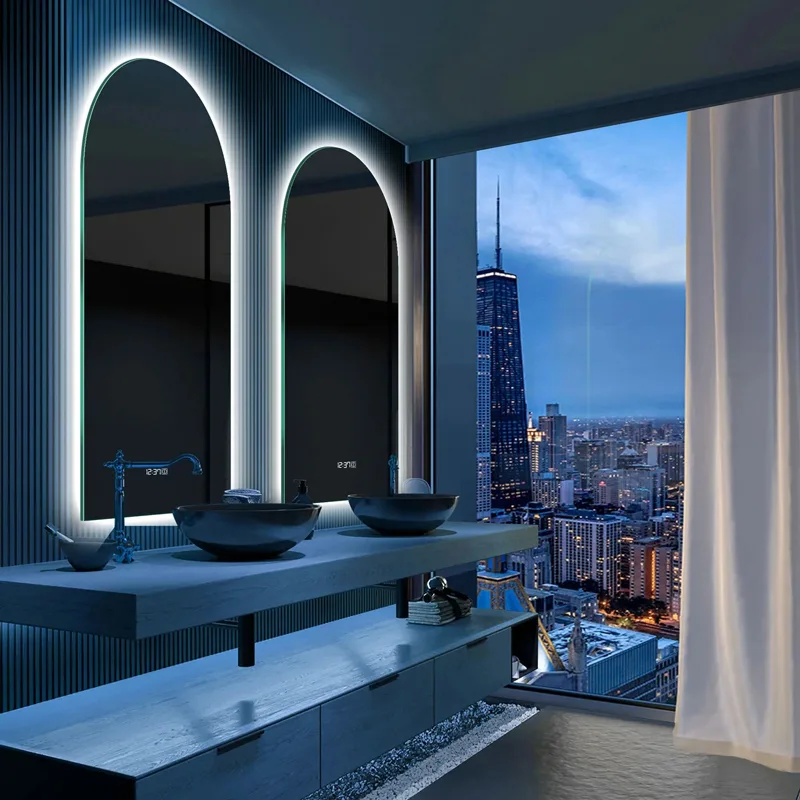
1. Backlit Mirror
Backlit mirrors have LED light strips mounted behind the mirror to create a soft, indirect halo effect. This effect adds depth to the mirror, making it appear to hover over the wall. Commonly used in bathrooms or dressing areas, backlit mirrors can create a luxurious spa-like atmosphere without shining directly into the eyes, making them very comfortable.
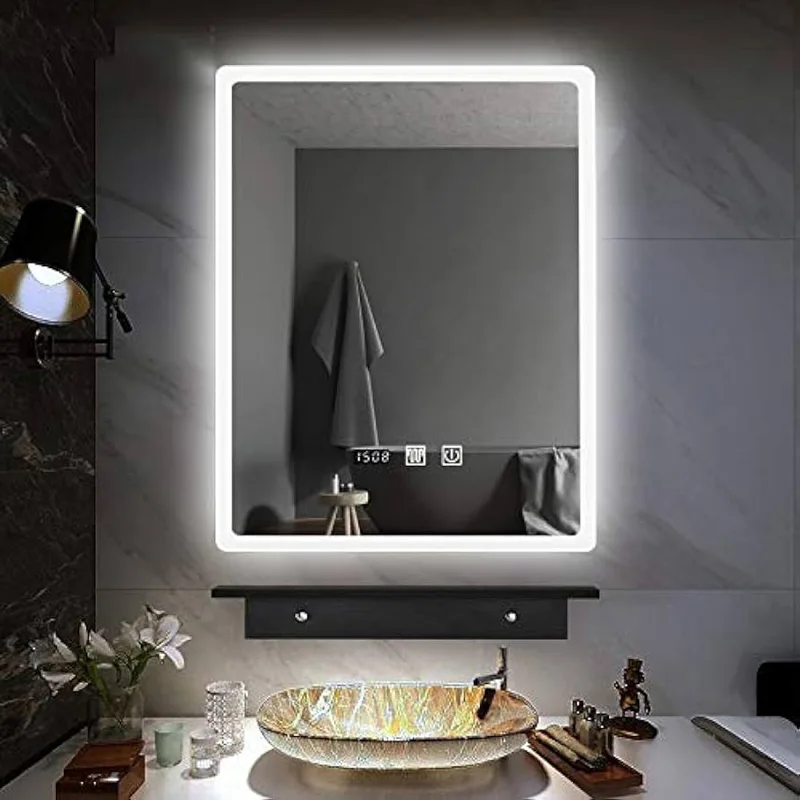
2. Front-lit Mirrors
Front-illuminated LED strips are usually mounted on the edges of the mirror to provide even direct illumination. This design is ideal for tasks that require clear light, such as applying makeup or shaving. Front lighting eliminates shadows on the face, making it easier to see details and ensuring that tasks are completed with greater precision.
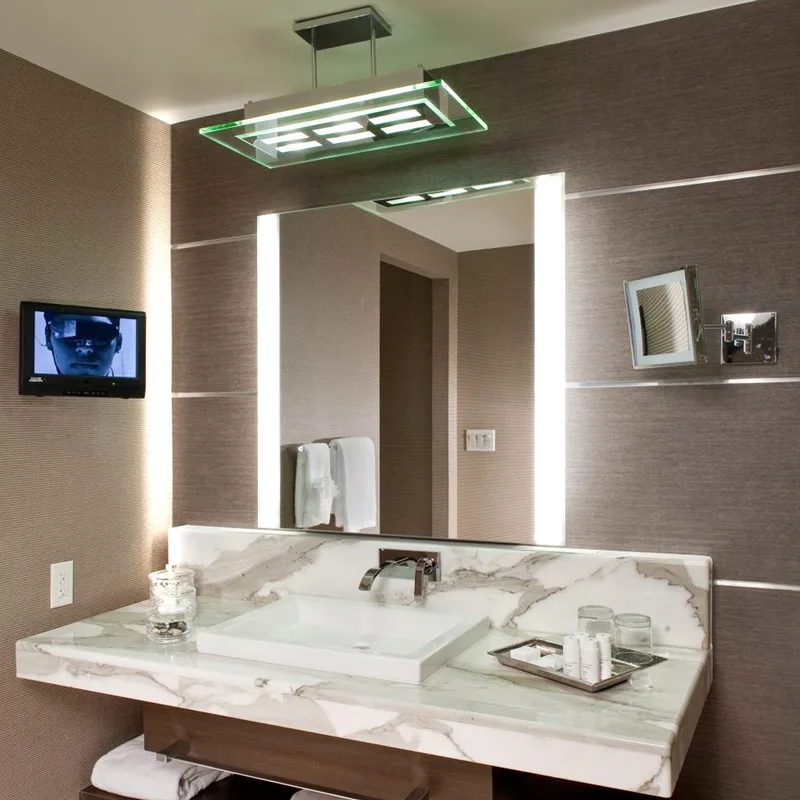
3. Edge-lit Mirrors
Edge-lit mirrors have LED strips mounted along the outer edge of the mirror to create a soft halo effect. This design is decorative without making the room appear overly bright, making it ideal for spaces such as bedrooms or living rooms where a soft ambiance is desired.
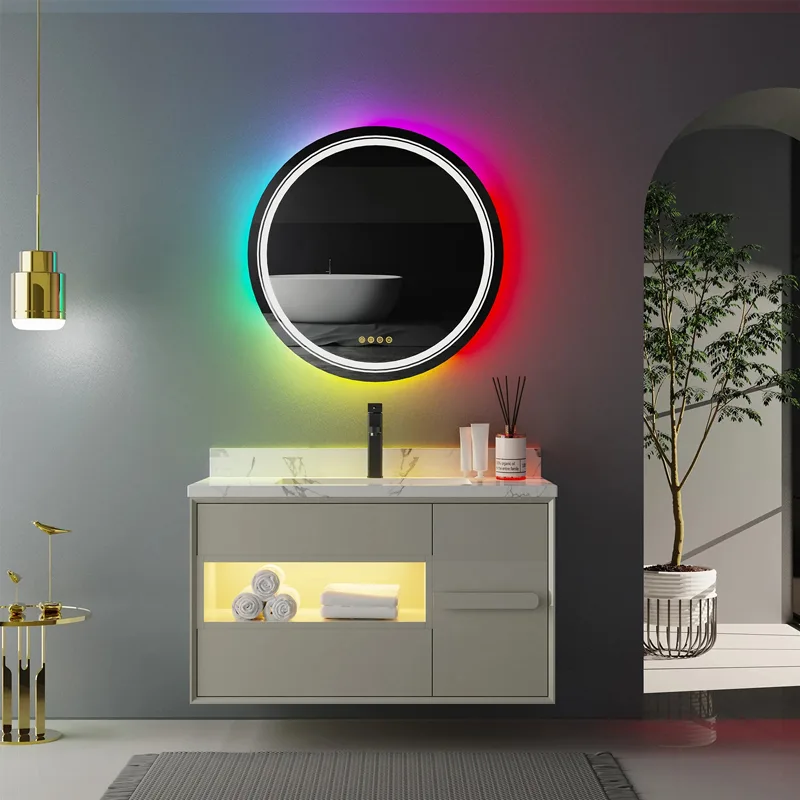
4. Decorative Mirror Lighting
If you want a more creative design, RGB or color-changing LED light strips can add a bright decorative effect to mirrors. With these strips, you can experiment with different colors and effects, especially for ambient lighting in bedrooms or entertainment spaces. With a remote control or smartphone, you can easily change the light colors and modes to add personalized color and movement to your home space.
Maintenance and Troubleshooting
To ensure the longevity of your LED strip, it is important to perform regular maintenance and solve common problems in a timely manner. Below are some maintenance suggestions and solutions to common problems:
1. Cleaning Recommendations
When cleaning the LED strip, avoid using strong corrosive chemicals or rough materials that may damage the strip or its adhesive. It is recommended to use a soft, damp cloth to gently wipe the strip and its surrounding area to remove dust and dirt. If the light strip is installed inside the aluminum profile, you can easily remove the transparent cover for cleaning.
2. Replacing the LED Strip
Although LED light strips have a long lifespan, if they begin to dim or flicker, it may be time to replace them. The replacement process is relatively simple.
Simply remove the old strip, clean the mounting surface, and reinstall the new strip. Make sure the wires are properly connected and check that the power supply matches the voltage of the new light strip.
3. Troubleshooting of Common Problems
- Lights flicker: Flickering is usually caused by a mismatch between the power supply and the LED strip or a loose connection. Please make sure the voltage and power of the power supply match the light strip and check if all connections are secure.
- Dim or uneven light: If the light is dim or uneven, it may be caused by a voltage drop. This usually occurs when a single power supply is powering a long strip of lights. The solution is to use a higher-quality power supply or install a second power supply for longer strips.
- Adhesive Failure: Over time, especially in humid environments, the adhesive backing of the LED strip may lose its stickiness. If the strip begins to peel off, clean the surface again and reapply with a stronger adhesive, such as double-sided mounting adhesive or silicone sealant.
Conclusion
Mirror LED light strips are an excellent choice for enhancing the functionality and aesthetics of your home. Whether you’re looking to add bright task lighting to your bathroom or a softer ambiance to your bedroom, choosing the right LED light strips can turn your mirror into a striking focal point. By choosing the right type of strip, mastering installation techniques, and performing regular maintenance, you can enjoy long-lasting, beautiful lighting effects.
SignliteLED has a wide selection of LED strip lights, from flexible to rigid, RGB to high color rendering index; you’ll always find something that suits your home’s style and needs. Take the time to explore the different options and tailor your mirror lighting to your space and needs. Whether you’re installing for the first time or upgrading an existing lighting scheme, this guide will provide you with all the information you need to make an informed choice and enjoy the convenience and beauty of LED lighting.
FAQ
What are the benefits of installing LED lighting behind a mirror?
Backlit mirrors can visually open up a space, add depth to a room, and create beautiful, bright indirect light. LED strips behind mirrors can enhance the look, add a vibrant or relaxing atmosphere, and increase the usability of the space.
What types of mirrors are suitable for backlit LED strip lighting?
Backlit mirrors require sufficient space behind the mirror. You need enough space behind the mirror for the light to illuminate the walls. You can choose from a variety of mirrors, each with their own unique features and styles. Whether you prefer a large wood-framed mirror, a round wall mirror, a floating mirror, or a mirror integrated into a dresser or vanity, there are plenty of options. Consider your preferences and the overall aesthetic you want to achieve when choosing the perfect mirror for your space.
What should I consider when choosing LED strip lighting?
Consider mirror type, mirror mounting, location, intended lighting use, brightness, color temperature, and color rendering index. Each type of LED strip creates a specific ambiance or effect, and different lighting options should be selected based on the desired mood of the space.
Is it safe to install LED strip lights myself?
We always recommend hiring a licensed electrician or tradesman for any high-voltage installation. However, if you are familiar with electrical components and have experience installing fixtures, you can do it yourself. Take proper safety precautions and follow the instructions carefully.
What are some ways to control my LED strip?
There are many options, such as simple on/off switches, wireless controllers, occupancy sensors, home automation, Google Assistant, Amazon Alexa voice control, or smartphone apps. The type of controller you choose depends on your personal preferences and the intended use of the lighting.
